Today is our wedding anniversary - eight years together and three years since our wedding in 2011. *Warning: This is a picture heavy post (sorrynotsorry hehehe)*
 |
| Photo courtesy of Daryl Lynch Photography |
Since I didn't even really know what blogging was back then obviously I didn't record the process of making my dress or any of the other home-made parts of our day. Plus
Design by Lindsay inspired me with her recent
post about making her wedding dress. So in honour of our anniversary I thought I should include my dress on the blog and this is also a way to say thanks to my Mum who did most of the work on my dress while I encouraged her!
 |
| Photo courtesy of Daryl Lynch Photography |
 |
| I wore Mum's veil as my "something old" - Photo courtesy of Daryl Lynch Photography |
I wasn't certain we would make my dress initially but once I started trying on dresses I realised 1) how expensive gowns were (at least those that lived up to my expected construction standards) and 2) that I simply wasn't going to find exactly what I wanted off the rack.
Mum was fantastic - we started working on my dress with plenty of time before the wedding but as this was nearly 4 years ago I was no where as confident sewing as I am now and as a result she did all the major work while I just assisted and cheered her on in the tricky, challenging bits. Plus it is bad luck to cut out your own wedding dress so I needed her help for that stage of the process at least!
 |
| Mum stitching on what seems to be hundreds of buttons! |
I really wanted straps - I hate strapless wedding dresses on me as the dresses tend to be so heavy I feel certain they'll just fall right off! I love a fishtail shape with no waistline since I felt like it made me look taller and leaner. I also really wanted a romantic, vintage feeling dress with a heavy lace fabric but struggled to find anything I loved in the shops that we could afford. Since we got married the same year as The Royal Wedding it meant I missed out on the beautiful lacey gowns around now that were influenced by Kate Middleton's gorgeous gown.
 |
| Photo courtesy of Daryl Lynch Photography |
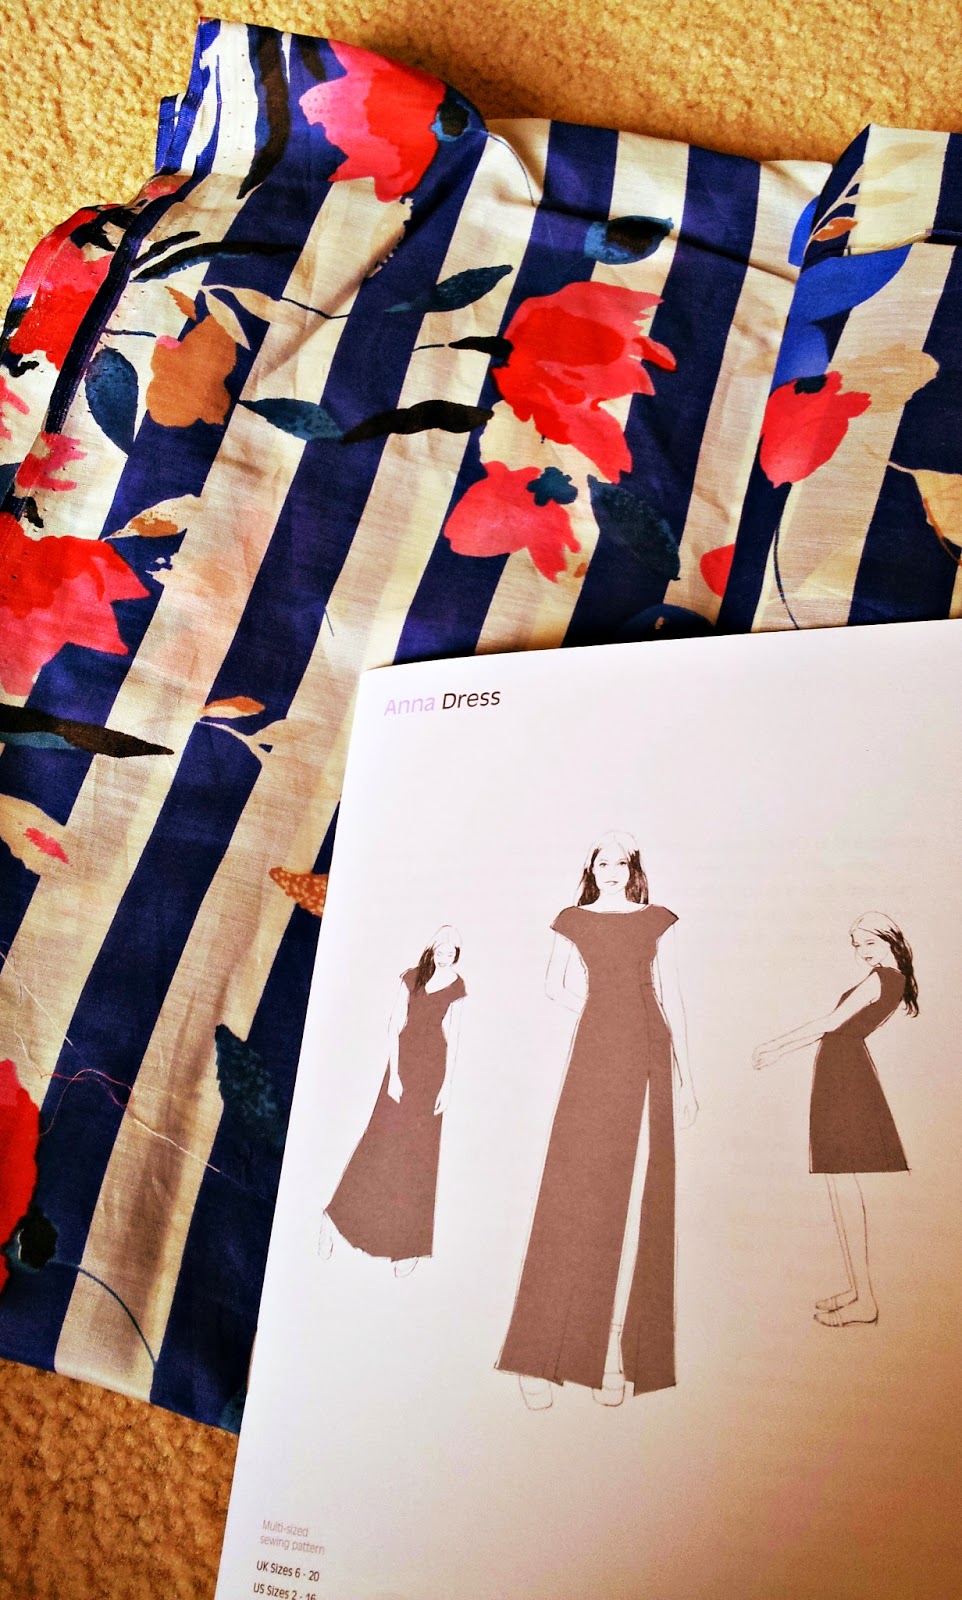
We ended up using
New Look 6670 mixed with
Kwik Sew 3401(now OOP). The New Look pattern was actually what I wore as a bridesmaid for my cousin's wedding so we knew the dress style worked and was reasonably easy to sew. The Kwik Sew pattern was more dramatic in the skirt and I felt that this shortened me but the fit of the bodice was better than the New Look pattern. Mum and I ended up combining the Kwik Sew bodice fit with the style of the New Look dress to create my own perfect fitting gown. I loved the shaped train on the Kwik Sew pattern so we ended up using this pattern piece for my detachable tulle train.
 |
| Photo courtesy of Daryl Lynch Photography |
We bought my beaded and sequined alençon lace and the duchess satin underlining from
House Fabrics in the US after getting loads of samples sent out. Their service was excellent and the price was fantastic - often this type of lace in Australia is over $200/m but we only paid around $60-$70/m! The Italian Shimmer tulle in my train came from
Studio Fabrics in Sydney on our first sewing group shopping trip. Originally we weren't going to use this satin in the final dress but when we made up the 'mock up' it fit perfectly and the ivory satin looked great so we thought why re-do this? So after this we constantly referred to my dress as "the practice run"!
 |
| Safety First! Glasses on while hammering ;-) |
Mum and I had heaps of fun working on the dress together - especially when we got on to the lace overlay and had to hammer the seams to break the beads before stitching! We closed the back with real buttons-and-loops thanks to Grandma's expertise and we hemmed the lace using the scalloped edges of the fabric. Just stitching the hem took 45 minutes together! I handmade the stiffened silk rose for my train which could be detached but I loved it so much I wore it the whole night anyway. The train is two layers of shimmer tulle, hand gathered at the top and the edges left raw.
 |
| Silk Rose Close Up |
I loved my dress even more for the fact that Mum and I made it together - it's packed away safely for now as befits a future heirloom - but I often want to get it out just to admire it or put it on merry-the-mannequin and pretend I'm in a bridal store. That was how Mum and I gauged if we were on the right track: we would put the dress on her mannequin and put it in her window then go outside and pretend it was a shop. If I felt like I would go in and want to try it on then we were doing well!
 |
| Pretending it's a shop! |
We also handmade one of my bridesmaid's dresses, mum's dress (including a back-up option) and my going away dress plus I hand made my headpiece, headpieces as my bridesmaid gifts and several other pieces as thank you presents for some close friends. My amazing cousin made all our gorgeous silk flower bouquets, my uncle kindly took our pictures and my mother-in-law baked and decorated our awesome cake. Even more friends and family pitched in and helped us out on the day and being surrounded by so much love and creativity really made our day feel so special and personal, just as we hoped.
 |
| Photo courtesy of Daryl Lynch Photography |
All up it took us probably 2 months of actual sewing time to make my dress and it was such a wonderful process I would absolutely recommend it to anyone. It was so special to wear a dress handmade with such love and it means I will always have this gown to remind me of our wedding and how much love was shared on that day. So if you're wavering about making your own dress I would absolutely say go for it!!
Thanks Mum so much for agreeing to make my dress - I never would have managed this on my own and it meant so much to share this fabulous experience together!
 |
| Photo courtesy of Daryl Lynch Photography |
The wonderful man who became the Fabric Folding Assistant - you are an amazing partner and I'm so glad I get to share my life with you (although not my dressmaking shears)! Looking forward to many more years together OXOX.
Hope this was an interesting post even if it isn't a new garment ;-)
Happy Sewing!
Stace